I was definitely born in the wrong decade. I am a prolific hoarder, I love spending hours making something for my home and although I love buying new things I equally like using all that I've hoarded to make something new and unique. I hope to update this post with more things I make for my home and share my ideas and creations with you!

The other day

I've also finally got round to making up some autumnal themed cushion covers.
Last year I bought a tea towel from the National Trust gift shop and loved the autumnal print- it's too nice to dry dishes with! Rookie error #1 I didn't iron it! Rookie error #2 I didn't line the pattern up very well but heyho these are just pernickety (good word) things that you don't see when your sitting on it.
I used an old cushion filler that I made into the correct size by folding it and safety pinning it in place.

I folded the tea towel right sides together and pinned in place leaving one end open. I then did a simple running stitch on the sewing machine a quarter of an inch away from the edge of the folded material.

Making sure all the pins were taken out I folded the material the right way out and stuffed the cushion inside. Then I secured the open-edge with a simple slip stitch by hand.


Ta Da!

I used a pack from Quilting Antics that had the squirrel template and tweed fabric supplied but you could easily make this without the kit. I changed the original kit design in favour for a the silhouette of the squirrel rather than one with a face.

I cut out 28 squares and 1 large square and arranged them in a pattern. It's good to take a pic of your chosen pattern so you can remember when you start to sew it together which way looked best!

I machine stitched the squares together using a quarter of an inch seam allowance. I cut out the squirrel in the orange fabric and applied it to the large square using different stitching.

Random long stitch in white for the fur on the tail and a blanket stitch in orange to define the squirrel's body. I used an embroidery hoop to keep the fabric taut.


I sewed the back and front right sides together (leaving one edge open!) using a machine running stitch, turned the cover out and stuffed in the cushion filler. I then slip stitched the open edge together.
~
I have made simple tab top curtains to cover 2 door frames to give me more privacy: a clear adjoining door and the door to my front room thats directly opposite my shower- the neighbours have been seeing a little too much of me recently! (oops). I used THIS easy peasy tutorial on youtube from OnlineFabricStore.net to make the tab curtains. It only takes a few hours to make and is a great project to use up a large amount of fabric. You could even patchwork a design together if you have lots of fat quarters/scraps to use up.

I used an old broom handle to make a curtain pole and used the old fixtures already on the door frame.
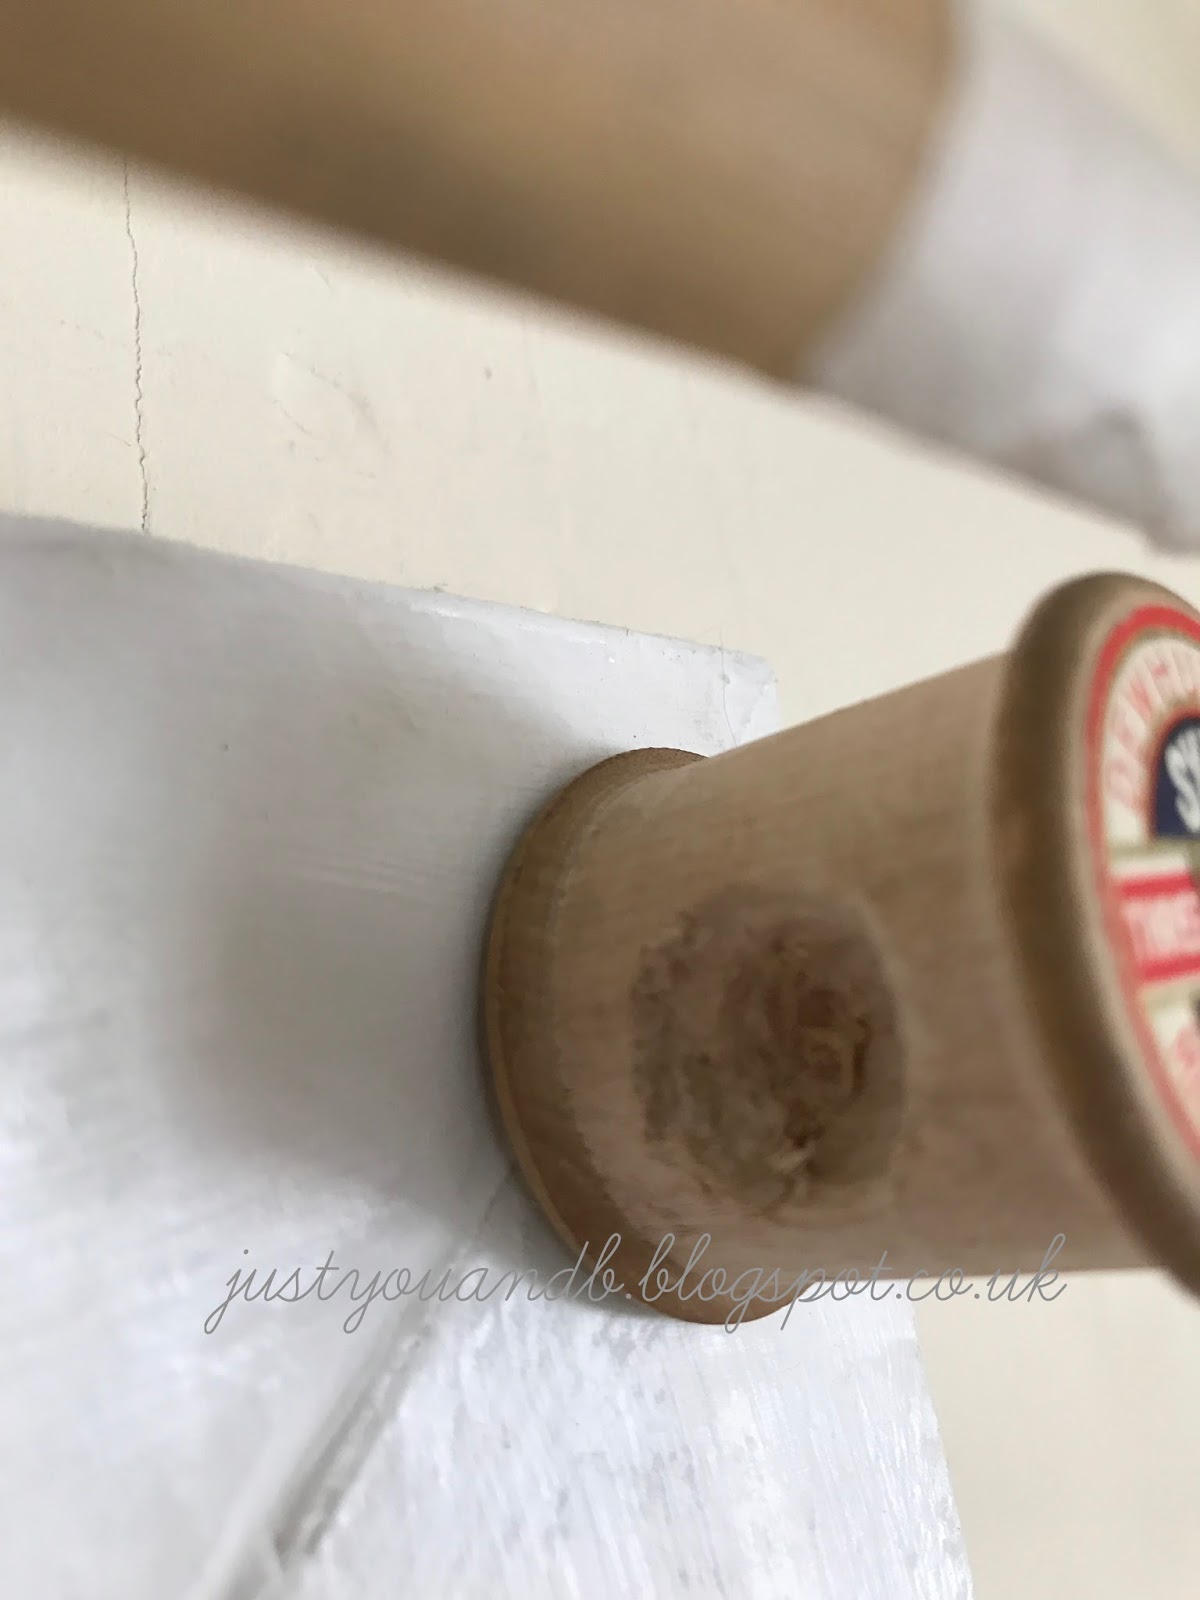
For my second curtain I didn't have any fixings so made my own! I used a bamboo pole for the curtain rail which I hack sawed down to size. I attached the pole ends to fixings that I made from old wooden cotton reels. I love the look- it's so vintage. The cotton reels are from the 40s as they are from my granny's old sewing kit! The fabric is from SewOverIt.


I used a large drill-bit to boar a shallow hole into the side of each cotton reel. I used a whittling tool to gauge the hole for a better fit. I drilled a small hole into the door frame, threaded a screw through the hole of the reel and screwed it into the frame. I screwed one end in loosely to allow me to put the pole in place and to allow me to take the curtain down or change it if I so wish.

~
I've been making seasonal wreaths for my door and now that spring has sprung I've made a new one!

I'm off to Japan in 2 weeks so I've become a little obsessed with cherry blossom. I had some faux blossom bunches left over from a recent project but using real flowers is another option. I got these ones from Wilkos.

I didn't have a wreath base so made one using wire. A trick I picked up at uni to strengthen flimsy wire is to wind a fold piece of wire in half. Attach the loop to a drill, attach the other end to a vice (this is vital or the wire will flail around dangerously) and turn the drill on. It coils it tightly and works a charm! I simply made a ring out of the wire. I would have covered the wire in floristry tape but with none in my stash I used paper tape in a spring green colour.


Using pliers I cut off individual stems, wrapped thin wire round them and attached it to the wreath base. To start off it will look pants but keep going, filling out the gaps and it will start to look much better.

Take obligatory flower crown selfie before hanging (or stapling) it to your door.